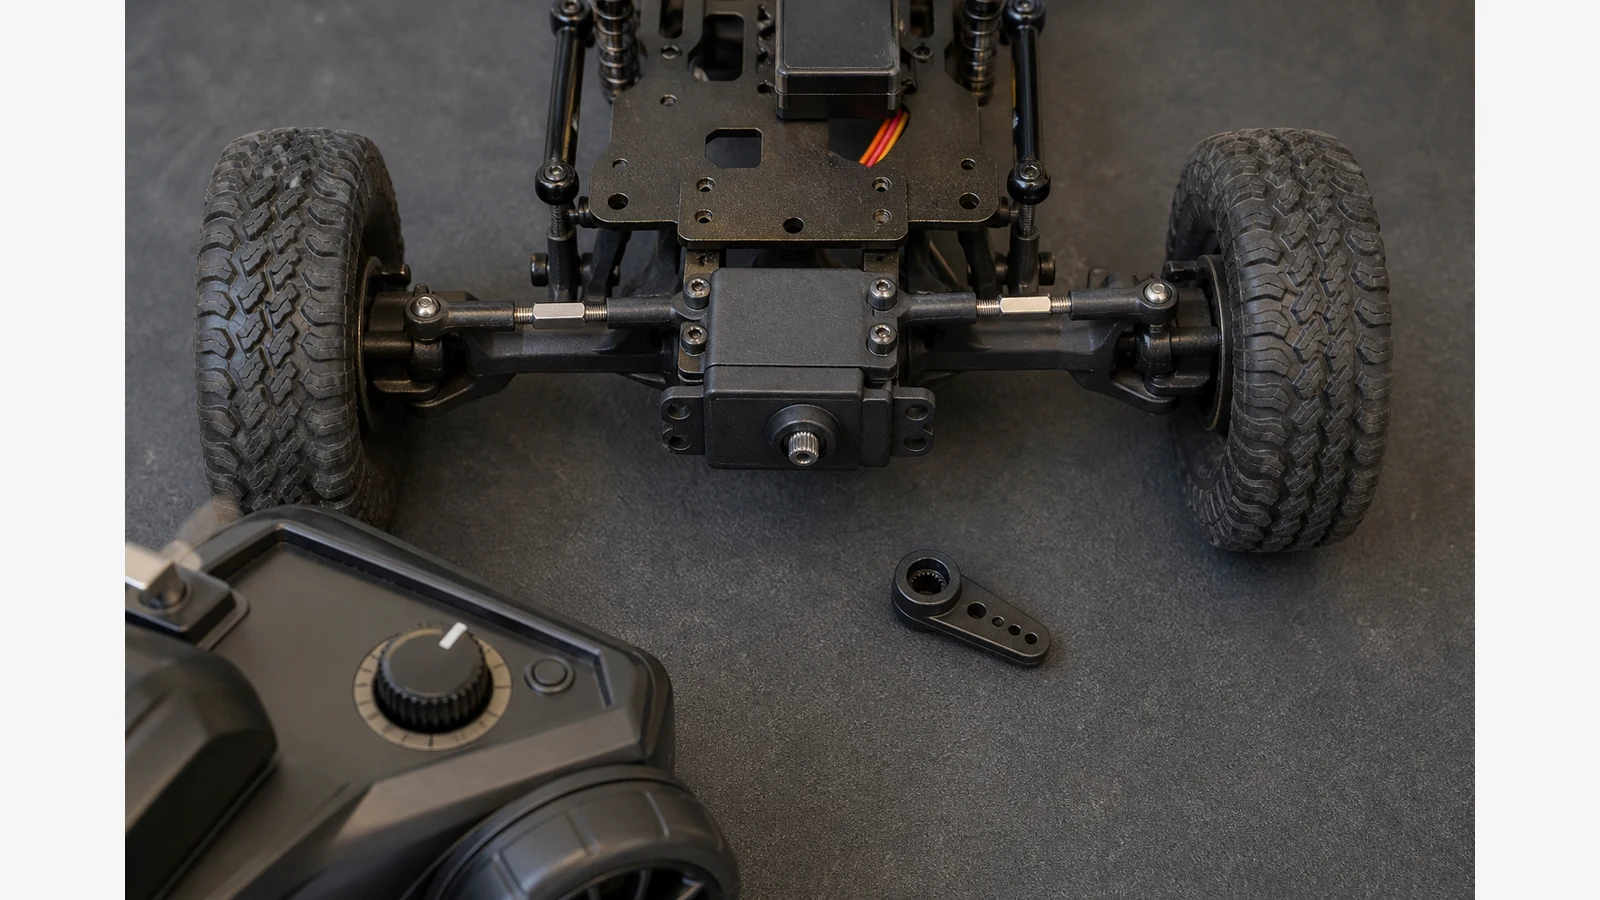
How to Centre an RC Steering Servo Before Fitting the Horn
Centre the steering channel electronically first, power the radio system in the manual-specified order so the unloaded servo finds neutral, then fit the horn as close to the vehicle’s intended orientation as the spline allows—without forcing teeth. Only after that should you set linkage length and use small trim corrections before left and right travel limits.
This is a practical UK bench checklist for general RC steering installs. Exact model memories, spline counts, EPA menus and power-on sequences belong to your transmitter, vehicle and servo manuals. Do not treat any product page as a substitute for those steps.
Safe bench preparation checklist
Prepare the bench so the servo can find centre without fighting the steering rack.
- Support the vehicle so the front wheels can swing freely without tyre scrub against the stand.
- Confirm the correct model memory is active on the transmitter before any trim work.
- Return steering trim to the neutral mark shown in the radio manual.
- Keep the horn off the output spline until the servo has been powered to centre unloaded, unless your vehicle manual states a different sequence.
- Inspect the saver, linkages and rack for looseness or binding before you chase electronic travel.
If wheel alignment cannot be achieved later, re-centre the servo and make left and right travel comparable rather than hiding a large offset in trim alone.
Power order, trim neutral and finding electronic centre
Power the radio system in the order your manuals specify so the unloaded servo can settle at centre. A common safe pattern is transmitter on first where the radio maker requires it, then vehicle power, but always follow the printed sequence for your equipment.
- With trim centred and no large sub-trim offsets left from an old model memory, allow the servo to reach neutral with the horn still detached.
- If a previous install needed a large trim correction, disconnect the horn, centre trim, power so the servo reaches neutral, then refit the horn close to centre before using only small trim corrections.
- Distinguish direction reverse, trim and endpoint adjustment as separate controls; do not use endpoints to fake a missing centre.
Commanding more servo travel than the steering components allow can permanently damage the servo, so leave travel limits until geometry is close.
Fit the horn, set linkage length, then small trim only
Fit the horn as close to the vehicle manual orientation as the spline permits. Do not force a tooth position that loads the saver or rack at rest.
- Choose the spline index that places the horn nearest the intended angle; accept a small residual and correct with linkage length.
- Adjust turnbuckles or link length so the front wheels sit straight when the servo is at electronic neutral.
- Apply only small trim corrections after the horn and links are close; a large trim demand means repeat the disconnect-and-refit sequence.
- Set left and right endpoints separately only where your transmitter supports it, stopping before any mechanical bind at full lock.
Finish with a free-movement check: wheels should swing smoothly by hand with power off, and under power they should mirror left and right without buzzing into a stop.
Stop conditions, next step and FAQ
Stop power immediately for abnormal heat, smell, smoke, damaged wiring, grinding or a stalled output. Do not open electronics, bypass protection or improvise power wiring.
When you later compare a standard-size brushless steering servo for heavy 1/8 and upgraded 1/10 builds, use the BrushServo BLS-HV70MG product details only as a fitment browse step after your manuals confirm size and spline needs—not as installation instructions for horn angle or EPA values. A 12-month warranty duration is the only warranty period stated for that offer here.
FAQ
Why not fit the horn before powering the radio?
Powering an unloaded servo to centre first reduces the chance of locking the horn onto an off-centre output. Follow your manuals if they require a different order.
How much trim is too much after fitting the horn?
If you need a large trim correction to drive straight, disconnect the horn, centre trim, re-find neutral and refit closer to centre rather than living with a big electronic offset.
Can endpoints replace careful horn positioning?
No. Endpoints limit travel; they should not hide a horn that was fitted far from neutral. Excess travel into a mechanical stop risks permanent servo damage.
Does this checklist prove compatibility with a specific upgrade servo?
No. Compatibility depends on your chassis, horn spline, voltage supply and manuals. Centring discipline applies to installs generally and is not a product endorsement.